WordPress Tutorial 2017 | WordPress Website Erstellen (deutsch/german)

WordPress Tutorial 2017 | WordPress Website Erstellen (deutsch/german)


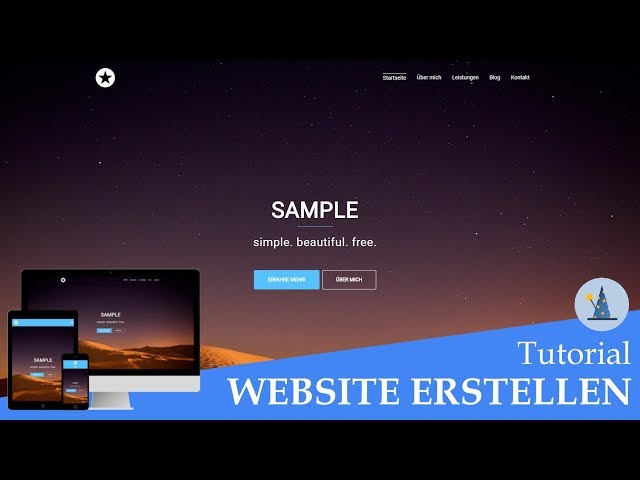
So erstellst du deine eigene professionelle WordPress Website mit dem KOSTENLOSEN “Sydney-Theme” ✓ responsive ✓ für Anfänger!

↓ Weitere Informationen, Links & Sprungmarken ↓

1. Links:

► Hosting Anbieter aus dem Video: * (weitere Infos, siehe unten)
► Meine Website:

► Kostenlose, hochauflösende Fotos:
► Kostenlose Logos erstellen:

2. Weitere Informationen:

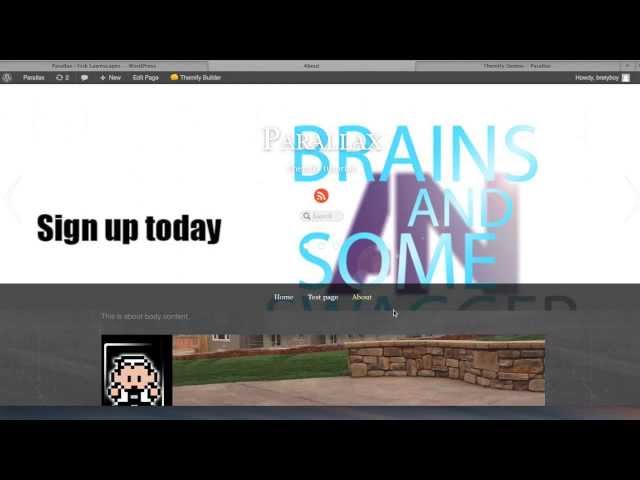
In diesem Tutorial zeige ich dir Schritt für Schritt, wie du deine eigene “responsive” Website mit dem Content Management System (CMS) WordPress erstellen kannst. Hierfür verwenden wir das kostenlose “Sydney Theme”. Die komplette Anleitung ist auf deutsch!

Das komplette Tutorial ist kostenlos!
Falls dir das Tutorial gefällt und du dich für Siteground entscheiden solltest, kannst du mich ganz einfach unterstützen, indem du vor dem Kauf diesen Link benutzt ►

So erkennt Siteground, dass ich ihren Dienst weiterempfohlen habe und zahlt mir als Dankschön eine kleine Provision.

Empfehle ich Siteground nur aufgrund der Provision?

Nein, ich bin absolut überzeugt von den Leistungen von Siteground. Die Server sind super schnell, deren 1-Klick Installation ist klasse und gerade für Beginner sehr einfach und ich habe bisher immer sehr gute Erfahrung mit deren Support gemacht. Abgesehen davon würde ich auch von anderen Hosting Anbietern Provisionen bekommen.

Kostet es dich etwas mehr, wenn du meinen Link benutzt?

Nein, es kostet dich keinen Cent mehr!
Durch diese Methode kannst du dich absolut kostenlos für meine viele Arbeit und die hoffentlich sehr gute Hilfe bedanken 🙂

Falls du mich darüber hinaus unterstützen möchtest, kannst du das gerne über diesen Link tun 🙂 ►

Tausend Dank für deine Unterstützung! Ohne diese sind Videos wie diese nicht möglich!

3. Sprungmarken:

► Allgemeines & Setup

Einführung (00:00:00)
Überblick & Kosten (00:04:56)
Hoster auswählen & Domain registrieren (00:06:05)
WordPress installieren (00:11:58)
Theme installieren (00:15:32)
Allgemeine Einstellungen (00:16:38)
PlugIns installieren (00:18:02)

► Startseite

Seiten erstellen (00:21:19)
Statische Startseite & Beitragsseite einstellen (00:22:56)
Vollbild-Slider einstellen (00:24:33)
Überschrift einfügen (00:25:35)
Unterüberschrift einfügen (00:25:44)
Hochauflösende Hintergrundbilder herunterladen (00:26:02)
Call-to-Action Button bearbeiten (00:28:42)
Hauptnavigation/-menü erstellen (00:30:23)
Designfarbe einstellen (00:32:13)
Logo/ Favicon erstellen & einfügen (00:34:00)
Buttons erstellen (00:37:14)
Widgetbereich erstellen (00:49:14)
Neueste Beiträge Widget einfügen (00:50:15)
Kontaktinformationen Widget einfügen (00:51:19)
Individuelles Menü einfügen (Impressum, Datenschutz etc.) (00:52:14)
Social Media Buttons einfügen (00:58:06)
Copyright Hinweis einfügen (01:04:06)
Weiterer Call-to-Action Button einfügen (01:06:27)
Call-to-Actions Buttons stylen (01:07:33)
Schriftart verändern (01:10:30)
Hintergrundfarbe Kopfzeile ändern (01:14:51)
Kopfzeile: Link Styling (01:15:24)
Fußzeile: Link Styling (01:16:21)
Kopfzeile: Box-Shadow hinzufügen (Google Design) (01:17:04)

► Über mich

Seite gestalten: Über mich (01:19:16)

► Leistungen

Seite gestalten: Leistungen (01:35:26)

► Blog

Blogbeitragsseite (01:50:42)
Blogbeitrag erstellen (01:51:28)
Blogbeitragsbild einstellen (01:52:31)
YouTube Video einbetten (01:57:31)
Seitenleiste bearbeiten (02:00:01)
Kategorien erstellen (02:04:47)
Kategorien zuordnen (02:06:27)
Blog Layout verändern (02:08:17)

► Kontakt

Seite gestalten: Kontakt (02:10:08)
Kontaktformular einfügen (02:16:20)
E-Mail Account bei Siteground anlegen (02:22:54)

► Fertige Website! (02:26:01)

* = Beim Kauf über diesen Link, erhalte ich von Siteground eine Provision. Für euch entstehen dadurch keine Mehrkosten. 🙂

17 Comments

Coolest WordPress Theme: Parallax Themify Tutorial

Coolest WordPress Theme: Parallax Themify Tutorial


Basic walk through of Parallax Themify theme. Help with making sections.

Check out Parallax here:

Demo:

Check out my personal blog for awesome graphic design resources!
bretonbrander.wordpress.com

If this was helpful, donate .10 cents!

12 Comments

WordPress Tutorial Series – Part 3 – By HostPapa Web Hosting

WordPress Tutorial Series – Part 3 – By HostPapa Web Hosting


HostPapa WordPress Tutorial Series – Part 3. WordPress Hosting from HostPapa allows you to easily build your online presence. Check out HostPapa’s WordPress web hosting solutions today!

WP Tutorial For Beginners Portfolio Website In 5 Minutes

WP Tutorial For Beginners Portfolio Website In 5 Minutes


Get Your FREE Guide “Intro to Abstract Painting” Click Link Below

-~-~~-~~~-~~-~-
Please watch: “Painting with Acrylics with Andy Morris – Abstract Painting Techniques”

-~-~~-~~~-~~-~-
it’s 2 yrs later and I now recommend choosing one of the many good free templates found on the wordpress website here’s the link

installing WP and using simple free templates only takes an afternoon to learn

4 Comments

WordPress Image Compression Using The WP Smush.it Plugin | WP Learning Lab

WordPress Image Compression Using The WP Smush.it Plugin | WP Learning Lab


Grab Your Free 17-Point WordPress Pre-Launch PDF Checklist:
Download our exclusive 10-Point WP Hardening Checklist:

In this tutorial you’re going to learn how to compress images on your WordPress site using the WP Smush Plugin (formerly known as WP Smush It).

The reason compress images are good for websites is that when images are smaller in file size pages load faster. Faster load times lead to better search engine rankings in Google and a better user experience.

So, let’s get started; this is how to compress images. To install this plugin please log into your WordPress dashboard, hover over Plugins and then click on Add New.

On the next page type “WP Smush” into the search bar. The plugin we want should be the first one in the top left.

Click on the Install Now button and then click Activate after it’s installed.

The plugin adds a new menu item under the Media menu called WP Smush. Click on that link.

On the next pages you will see how to compress pictures that are on your WordPress site. There is an option that makes it so every new image that is uploaded WP Smush automatically compresses it.

Below that, there is the ability to compress images in bulk. Up to 50 with the free version, unlimited for the paid version. The paid version also provides a little better WordPress jpeg compression, but the free version is more than good enough to compress image file.

You can also go to the Media Library, click on any image and click the Smush Now button in the bottom right to compress images for web.

I recommend that you set it so all new image uploads are automatically compressed and that you compress images currently on your site 50 at a time.

That way, once you’ve gone through the initial compression process, you’re site always has compressed images.

That’s how easy it is to WordPress compress images. I hope this information helps you! If you have any questions leave a comment below or ping me @WPLearningLab on Twitter.

————–

If you want more excellent WordPress information check out our website where we post WordPress tutorials daily.

Connect with us:

WP Learning Lab Channel:

Facebook:

Twitter:

Google Plus:

Pinterest:

You are watching:

9 Comments

How To Make Ecommerce Website In Hindi Part05 | WordPress Tutorials In Hindi Ep#22

How To Make Ecommerce Website In Hindi Part05 | WordPress Tutorials In Hindi Ep#22


dosto ye 5 wa video he iss series ka jahan hum ecommerce site banana sikh rahe hai ajj iss video me apna product uppload karke homepage ke offer or baki section pura karenge

32 Comments

WordPress Tutorials In Hindi Ep#17 | How To Make A Child Theme In WordPress

WordPress Tutorials In Hindi Ep#17 | How To Make A Child Theme In WordPress


Wordpress tutorials in Hindi Ep#17 | How to make a child theme in wordpress in hindi
iss video me hum wordpress child theme banane sikhenge

18 Comments

Kali Linux Tutorials : Brute Force WordPress Using WPSCAN

Kali Linux Tutorials : Brute Force WordPress Using WPSCAN


Kali Linux Tutorials : Brute Force WordPress using wpscan
How To hack WordPress Website on kali linux using Wpscan

Article:

Disclaimer: This tutorial is for educational purposes only and we are NOT responsible in any way for how this information is used, use it at your own risk.

Visit : k4linux.com
Like : fb.com/k4linux
Follow : Twitter.com/k4linux
Suscribe & share for more videos.
Thank’s.

1 Comment

WordPress Actions And Filters Tutorials

WordPress Actions And Filters Tutorials


The complete tutorial can be found at – quick intro to actions and filters in wordpress. I add a column to the wpmu users table using filter on post columns and then add an action to handle the data for the user.

8 Comments

Multilingual WordPress Website: Easy TO DO With The Polylang Plugin

Multilingual WordPress Website: Easy TO DO With The Polylang Plugin


? Launching a Multilingual WordPress Website might sound ambitious, but it’s well within your grasp.
We post a NEW VIDEO every other day so SUBSCRIBE to our channel ➛

In fact, a single plugin may be all that stands between you and a bigger audience, by translating everything from your dashboard to your web pages.

Create a Multilingual WordPress Website in just minutes by using a WordPress Plugin and you can do it in minutes:

Polylang WordPress Plugin:

==========================

Other Useful Links and Videos that will help you build your website:

30+ Free and Premium WordPress Themes:
Top Free & Premium WP Plugins:

Check out our latest WordPress Tutorials on our blog:

Get in touch with us on Social Media.

Facebook:

Twitter:

Please Like and Share if you liked this video or feel free to post a comment.

==========================

Video Content:

➡ Installing the Plugin: 0:12
➡ Settings: 0:54
➡ Menu Language Switcher: 1:58
➡ Content language in posts or pages: 2:40
➡ Widget Language Switcher: 3:20

==========================

5 Comments